TestCube
 Build Status
![]() codecov
codecov
 Code Climate
 GitHub tag
![]() Python Version
Python Version
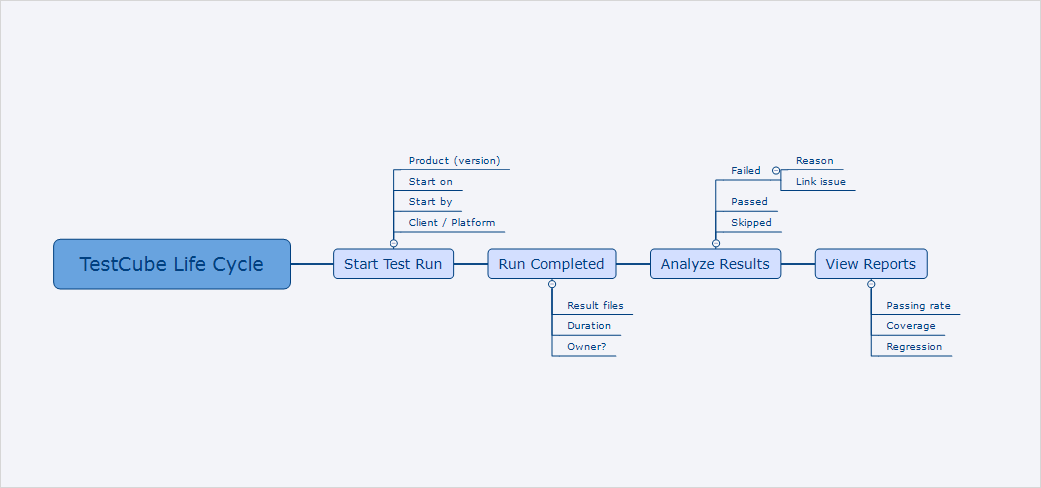 testcube overview
TestCube is a platform to manage and monitor automation test run and results, it provides a friendly web interface which is build with Python and Django.
Let me take 1 minute to describe TestCube...
Why ? - To manage and analyze automation test results efficiently.
What ? - It is web portal to deal with stuff like test runs, test cases, test results and test reports.
How ? - Your automation tests should generate xunit or junit xml files, then TestCube will provide client or API to let you upload such xml files.
So you have to learn about its client or API later.
Features
1. Manage test run in one page
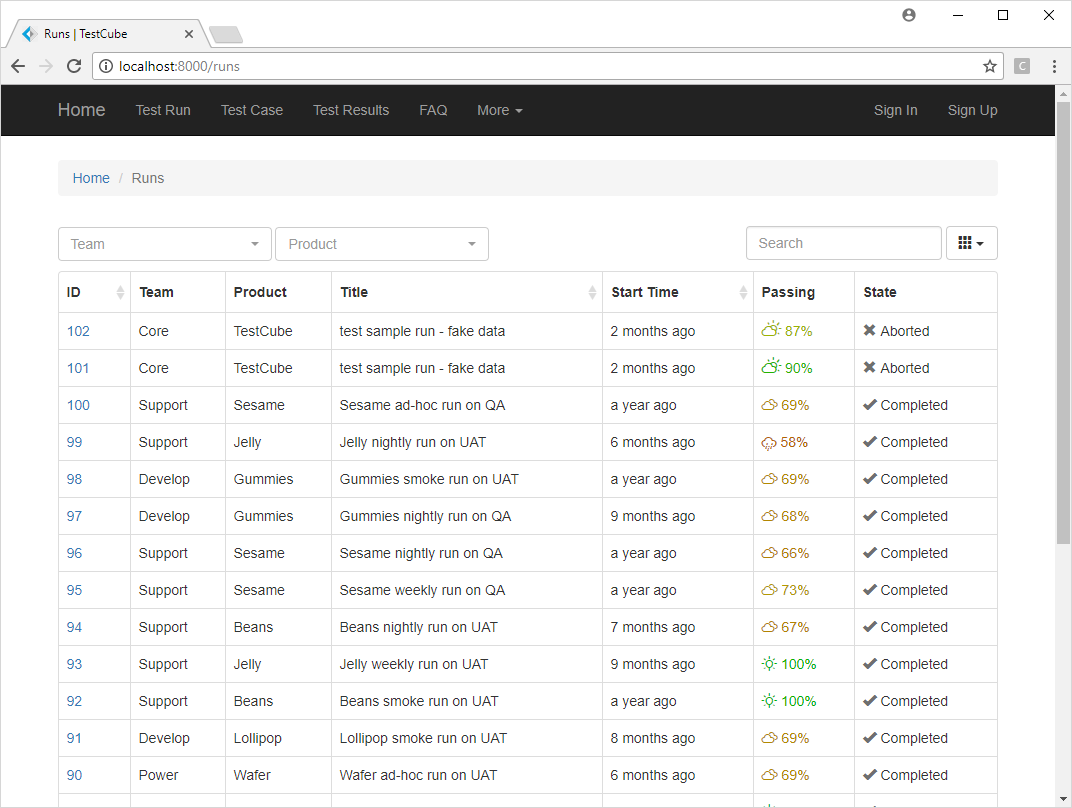 testcube runs
2. Analyze and view test reports
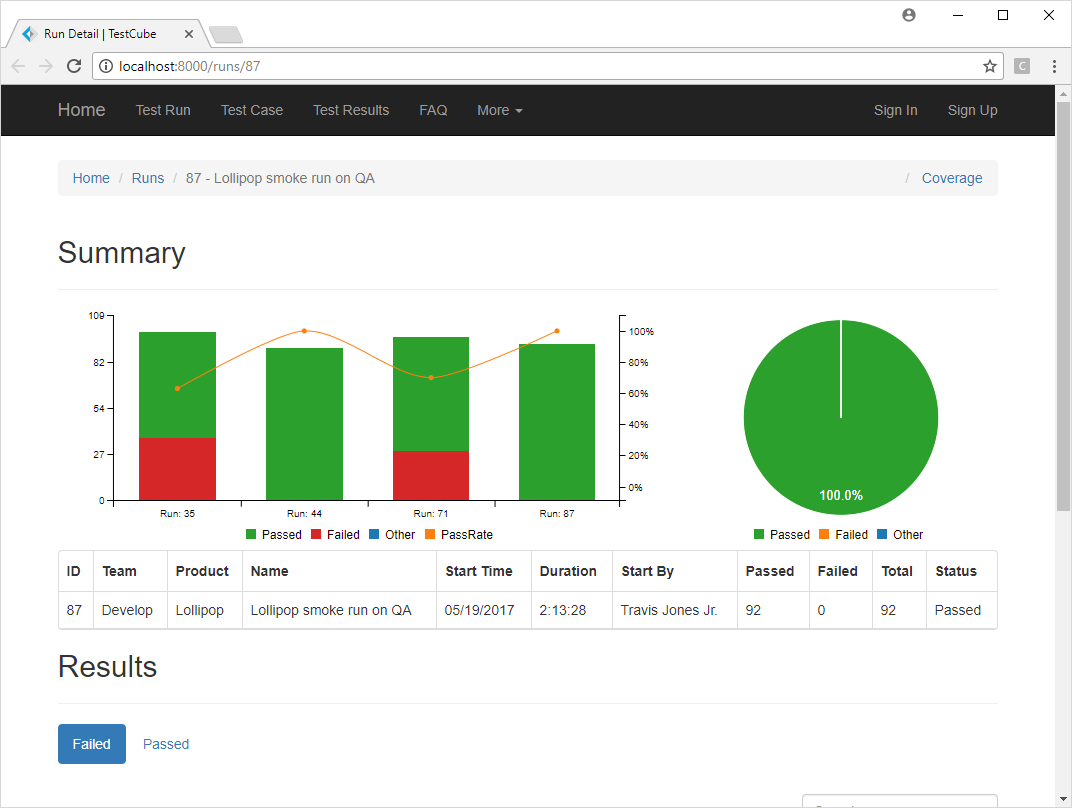 testcube report
 testcube tags
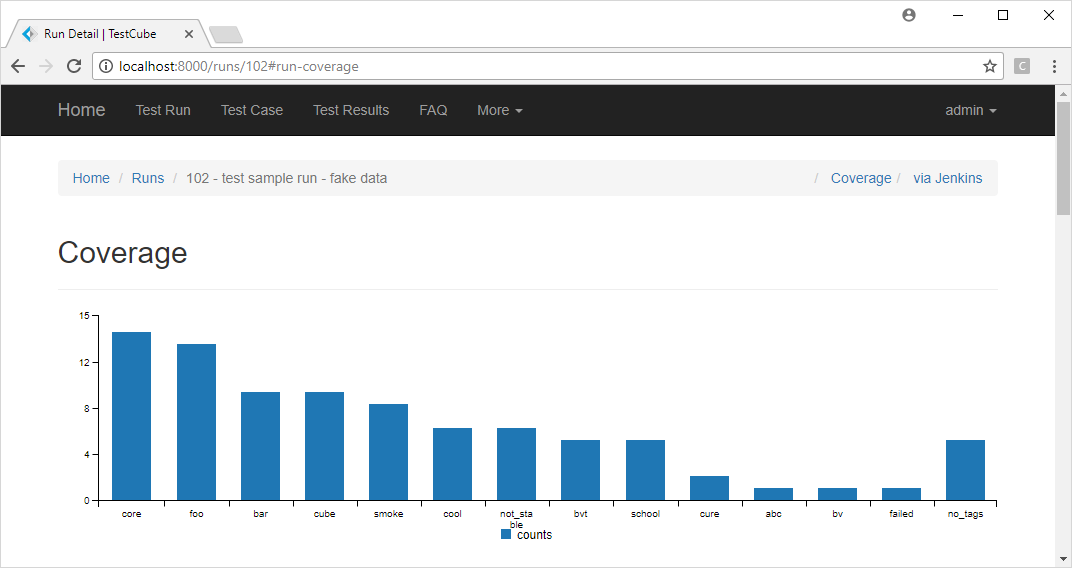 testcube coveage
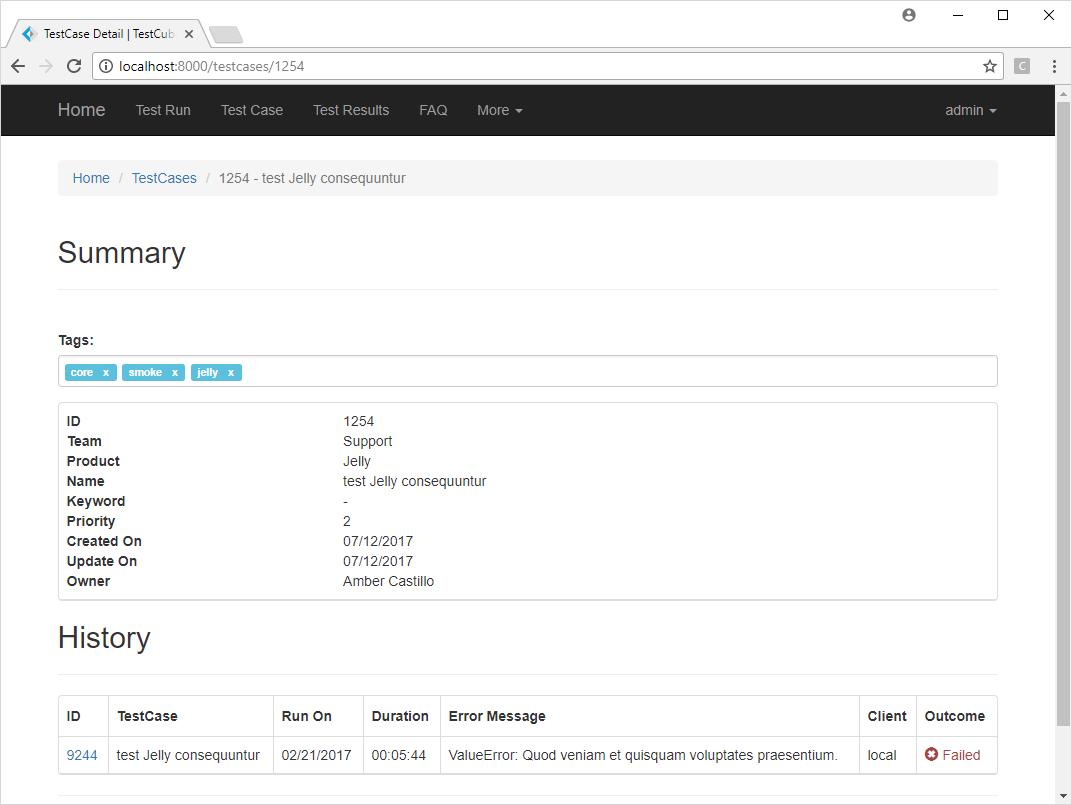
4. Analyze test result in a nice way
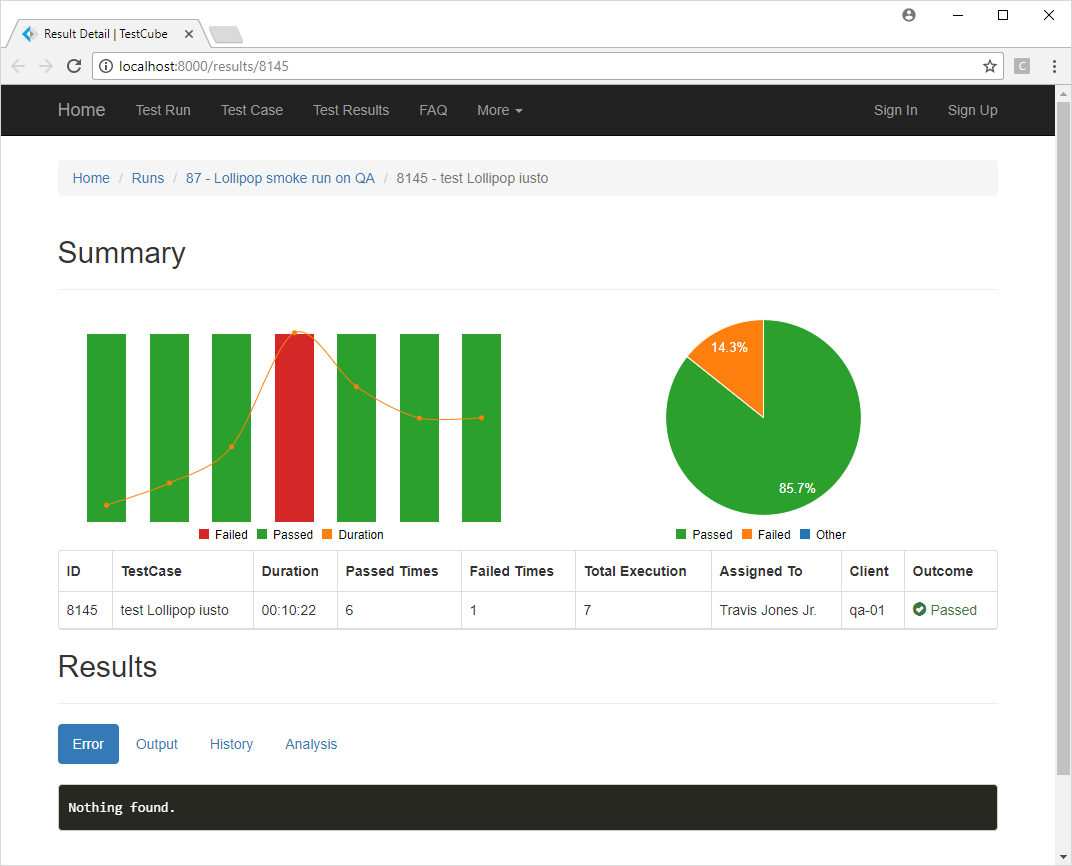 testcube result
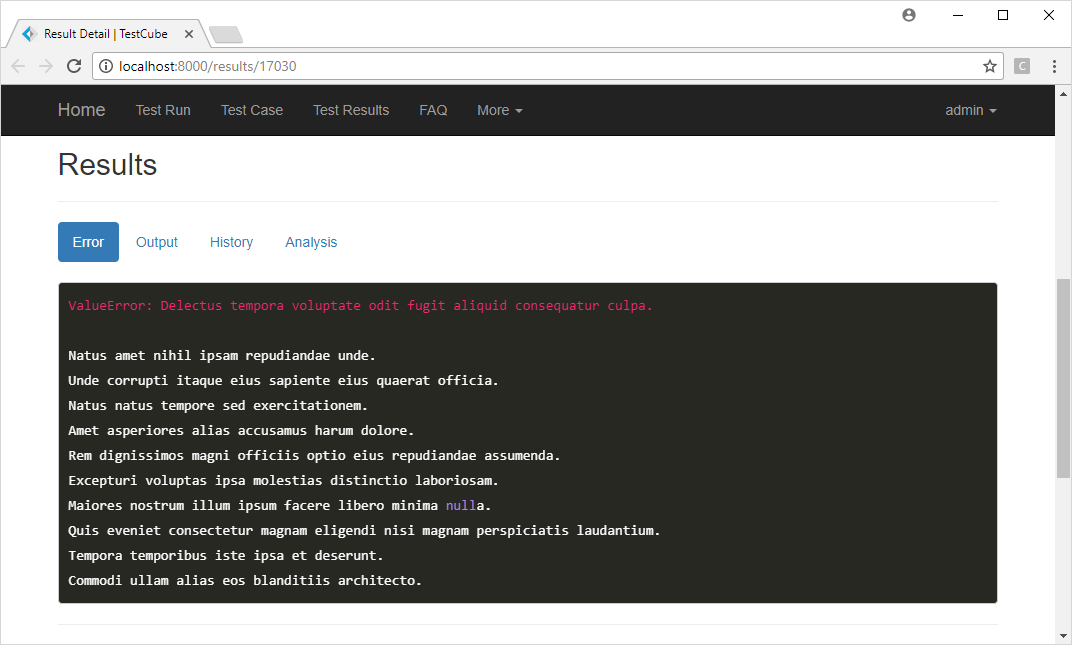 testcube result
 testcube result
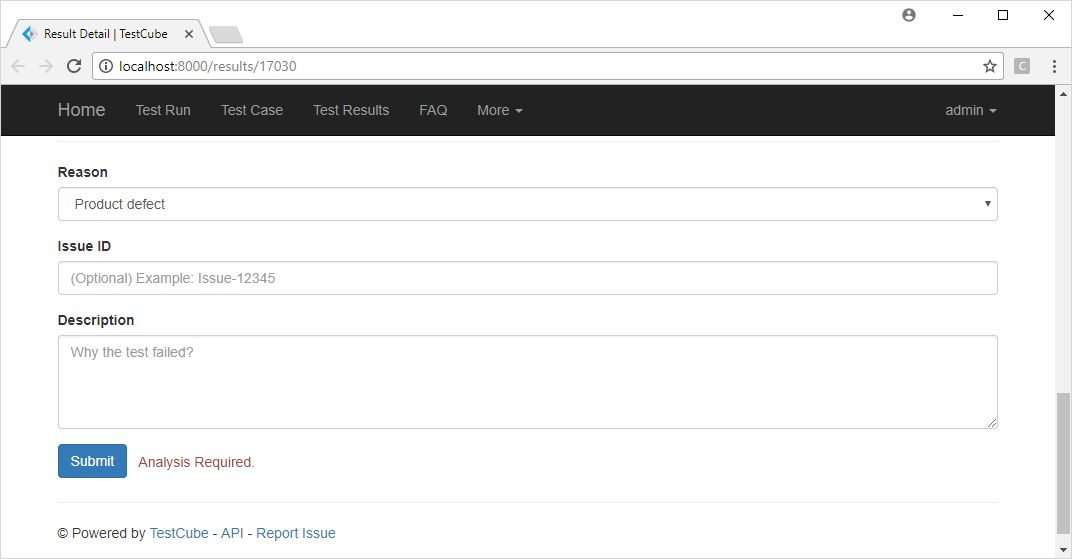
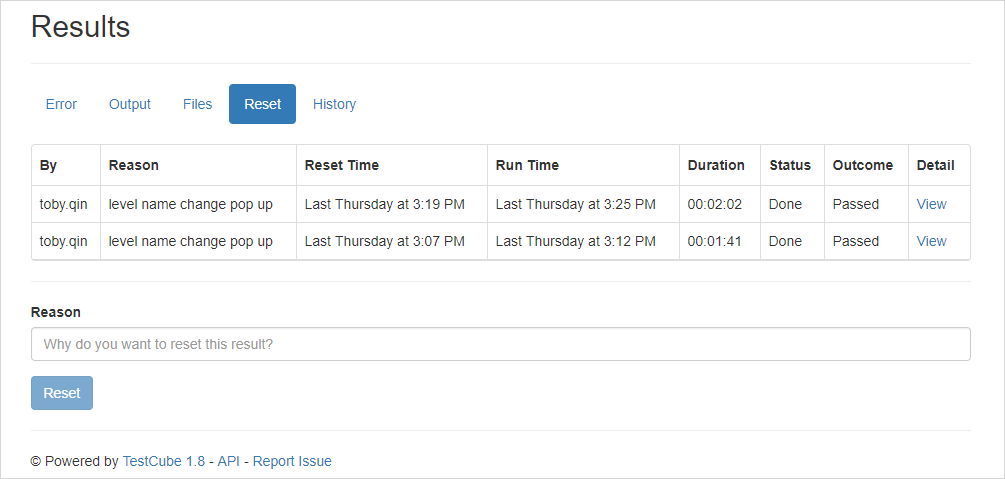 testcube reset result
For more features, please refer to issues page or todo list.
Get Started
Basically, there are 3 steps to run TestCube:
- Deploy a TestCube server.
- Install TestCube client to upload test results files. (*.xml)
- Review and analyze results from TestCube website.
TestCube is built on Python, but it does not limit clients and users are Python-required.
Project Links
- TestCube Server: https://github.com/tobyqin/testcube
- TestCube Python Client: https://github.com/tobyqin/testcube-client
Deployment
I assume you have basic knowledge with Python and Django, or it is not easy to help you on the way.
1. Fetch the code
Clone or download this repo into your local workspace.
git clone https://github.com/tobyqin/testcube.git
2. Update settings based on your demands
Before getting started, you should review and update /testcube/settings.py to meet your needs.
You might want to update: SECRET_KEY, ALLOWED_HOSTS, DATABASES, STATIC_ROOT and more.
3. Follow setup steps
To start a Django website, you have to do things like below:
- Install requirements.
- Create database scheme.
- Load default data. (optional)
- Create super user. (to administrate the website)
- Collect static files. (required for production deployment, skip it during development)
- Start the web server.
To accomplish above steps, open a command window and follow me:
# supposed you have python3 installed and added in PATH

cd /path/to/testcube

# step 0. Create virtual environment for this app
# https://virtualenv.pypa.io/en/stable/userguide/

# step 1. Install requirements
pip install -r requirements.txt

# step 2. Create database (will create a default super user: admin/admin)
python manage.py migrate

# step 3. create super user (optional, see step 2)
python manage.py createsuperuser

# step 4. collect static files (optional, for deployment)
python manage.py collectstatic

# step 5. start the web server (for site preview or development)
python manage.py runserver
Once the server started, you should be able to visit TestCube at http://127.0.0.1:8000/.
4. Production Deployment
Basically, you can follow steps in /scripts/ folders to deploy TestCube, for more detail,
please refer to Django official deployment documents.
On target server, A best practice is setting environment variables as example.
Join Development
This project is still under development, welcome to fork and send pull request.
Unit tests
Before send pull requests, please add relevant unit tests and make them passed.
python manage.py test
Test coverage
To check your test coverage, and generate an HTML coverage report, please run:
coverage run manage.py test
coverage html
open htmlcov/index.html
Deployment with Docker
It works with Postgresql and Nginx on port 4000 so if the port is allocated or want to use different database, update them in docker-compose.yml.
Run docker-compose
cd path/to/testcube
docker-compose up
FAQ
More questions about TestCube will be answered at FAQ.
You can find an xmind file in /docs folder, that is the original design and prototype.
License
MIT